Built In Bookshelves Plans ( Hot Ideas )

chilly bookcases dont necessarily have to be flashy. This piece, for example, looks extremely elegant. The pyramid-like impinge on will fit into any room and wont impinge on the overall house decor. Its quite smart as skillfully using aluminum modules to sustain books in a tilted way. It makes positive that all books always stay in order and never fall. pretty smart proceedings indeed.
BUILT IN BOOKSHELVES PLANS
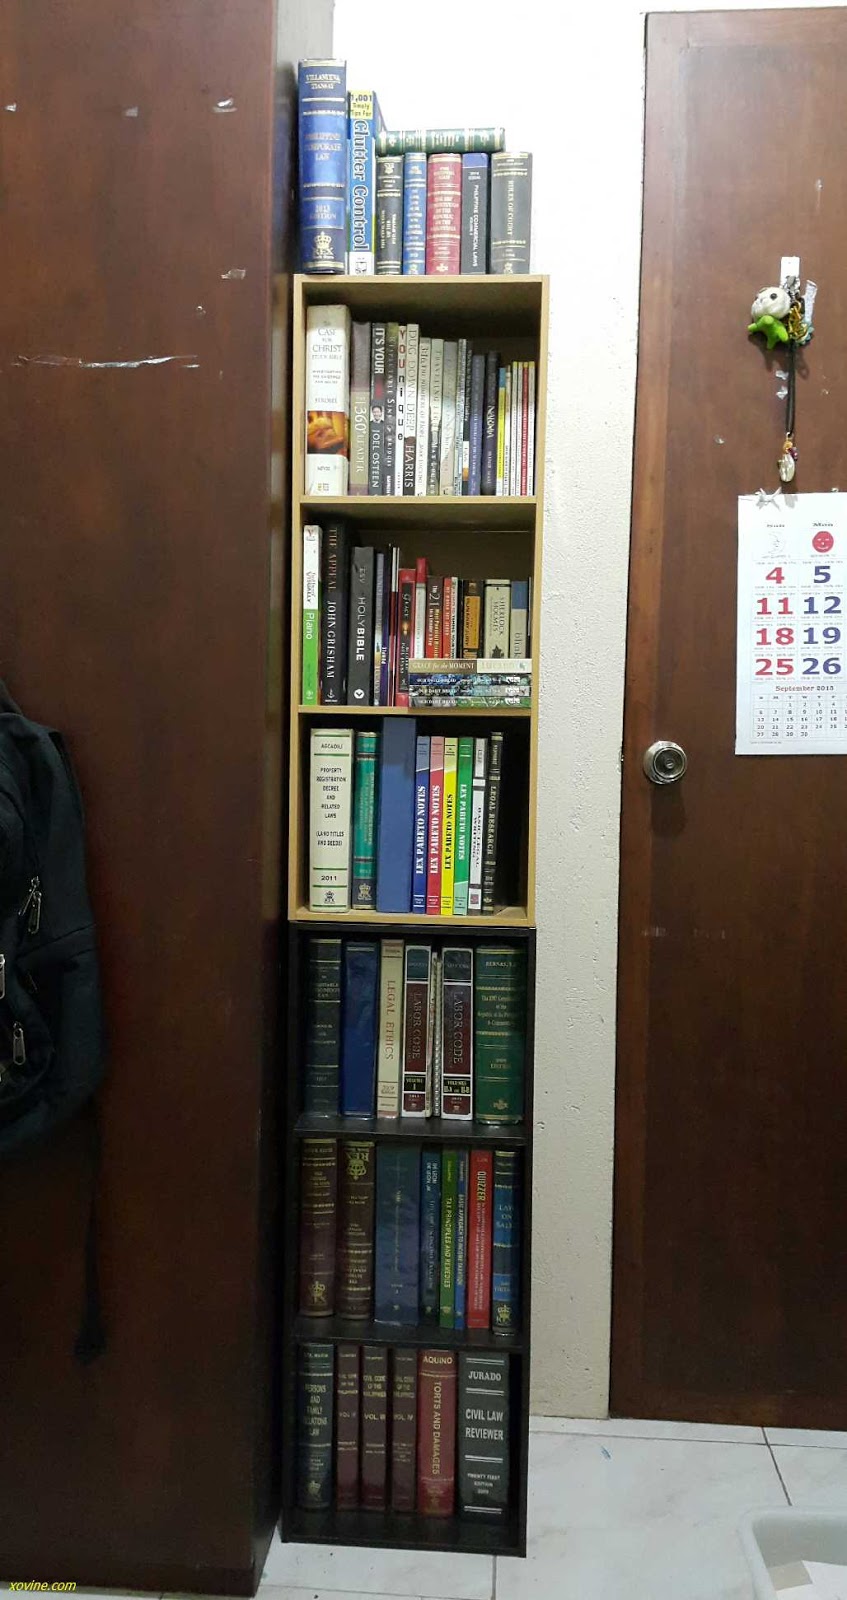
Written by Justin These are the built-in bookshelves that we designed and installed in our park house living room . It was a pretty simple construction that most any DIY�??er can take on. So, we wanted to share the plans of our built-in bookshelves since we?ve had a few people ask.
The plan that you will see in this post, was made for the bookshelf on the right of the window. The one on the left is slightly custom because there were a few problems with that corner. A design dilemma if you will! You can see our dilemma in more detail here with this post . Anyway, we had to design that corner a little bit different than the other side, since there was a plumbing chase there. By designing the build-in bookshelves, we figured out a way to hide the whole corner entirely, but still keep a uniform look around the window and door. Sound good? Good!
Now here are the plans for you to check out, so you can build your own. Here are the overall dimensions of our built-in bookshelves. Add the height of the base molding + the width of the face frame. For our bookshelf we needed to add 6 1/2�?� (base molding) + 2 1/2�?� (face frame) = 9�?�.
Measure the opening height from the top of bottom shelf to top of the shelf support ( 78�?� see first diagram with dimensions). Add up the total face frame widths of the number of shelves within the main opening (3 x 2 1/2�?�= 7 1/2�?�. Subtract that number from the total opening of 78�?�. 78�?� �?? 7 1/2�?� = 70 1/2�?� Divide that number by the number of shelf openings ( ). 70 1/2�?� / 4 = 17 5/8�?�. Take 17 5/8�?� and subtract out the thickness of the one of the shelves of 5/8�?�. 17 5/8�?� �?? 5/8�?� = 17�?� . The dimension of B is 17�?�
Your now done with the construction. Nice job! Now you can sand and paint it. We decided after we build it, to add doors to the bottom two shelves that are flush with the face frame. This was to help keep out little people and create a more finished look. All I did was cut out a door from a sheet of mdf, that was an 1/8�?� less wide on all sides than the opening. I added two little hinges and walla!
Now it�??s your turn to build your built-in bookshelves. You can also check out our free project plans , to see other cool things to build.
Published: May 7, 2013 Filed Under: *Our Projects How To Project Plans Tagged: Bookcases Built-ins How To Park House Living Room Project Plans
Love the look of these! You did a great job. Thanks Korrie! (p.s. Now that we are in Utah, we need to get together and do some furniture project?.) I wish we could! But we moved to Washington just before Christmas! I had no idea that bookcases could be made that way! FAB! Thanks for sharing, being a builder its always cool to see good clean step by step directions to building things. Nicely done
What a wonderful post!! I have been wanting book cases in my sewing room for years ? the way you laid it out looks so easy. Thank you!
Tanya, thanks for the nice comment. I hope that you can soon get book cases for your sewing room. I really like the simple but strong, stable construction. The bottom doors make this much more versatile as well. This is a really good DIY project I will pin to our site. Thanks.
Chris, Thanks for the compliment. Just to clarify, you are just pinning the project to Home Depot?s Pinterest boards, but it will still like to my post? If that is the case great! Thanks!
Yes. The pin link comes right back here. https://pinterest.com/pin/230668812136984127/ THANKS Chris! This is a great design! I am a big fan of the flush doors on the bottom ? but I didn?t see what hinges you used. Do you have any pictures and specs for where I can get some? Thanks!
Jason, they are just simple hinges that I got at the Home Depot here . Thanks for the comment. Are the dimensions for the middle shelves correct? It says you need three 11 3/8?x 10 3/4?, but those aren?t wide enough for the 24? wide plans. My husband and I are building these, but were slightly confused by the measurements on that.
Valynn, sorry about the measurements. Those shelves should be the same as the top and bottom shelves. Thanks for bringing that to my attention.
What wall brackets were used in the first step? Dave, that is a homemade piece that I used, so I could nail it onto the wall, then nail the sides to it. Let me know if that helps. Sorry if that was confusing.
I am understanding that the ?wall brackets? are just 1? wide strips from the MDF, correct? And those are nailed into studs? Thanks.
Jason that is correct! I find that mdf chips easily (vaccum, toys etc) how is yours holdig up? Ours it holding up well. It is true that it does chip easy. You just have to be extra careful. The alternative is going for more expensive wood, though. It?s all about what you can afford and are willing to live with. Thanks for the comment!
Its ?Voila? not ?Walla?. Voila is a French word meaning ?Look there!? Thanks for the correction Trev. That is good to know. Thank you for sharing the plans. I appreciate how detailed and clear your instructions are. Makes an intimidating project seem doable. I am going to try it. Love your blog- you?ve been a great resource. Very inspiring. �???
That is awesome that you are going to try this. You can do it! Thanks for being a reader of our blog.
Are the sides of the bookshelves only attached to the wall brackets (step 2)? Are they then reinforced by the shelf supports? Because the back shelf supports are nailed into the wall (but do you also nail through the sides into each shelf support?) I?m just wondering of that is enough to keep the sides sturdy. Does that make sense?
Yes they are nailed to the back supports and to the shelves once they are in place. Comment Name Email Website Notify me of follow-up comments by email. Notify me of new posts by email. This site uses Akismet to reduce spam. Learn how your comment data is processed Hey there, I am Cassity! Nice to virtually meet you! This blog is about DIY at its finest. We are obsessed with it and so are you, so while we're working and have nothing to show you of our own projects we show off yours. So submit your projects! More About Us�?�
Remodelaholic is a participant in the Amazon Services LLC Associates Program, an affiliate advertising program designed to provide a means for sites to earn advertising fees by advertising and linking to amazon.com. Please see our full disclosure here
© 2005-2016 Remodelaholic LLC, All Rights Reserved


Comments
Post a Comment